Clamps - A beginners Guide
Whoever said ‘You can never have too many clamps’ is not wrong but they probably had a huge budget and an even larger workshop.
Let’s get into it.
Clamps are one of the items that seem so simple yet cause so much annoyance especially for people just starting out in woodworking. They range in price from £3 to £300 and each one seems to be a different shape and size with a different job to do.
Writing this now makes me think that I have missed a video out having not done one on a guide to which clamps to buy. But I assume there are a number of more experienced channels that have already done one for you to watch.
The video I did at first was ‘what not to buy’. It’s there on the right and it basically tells you the one type of clamp that I hugely regret buying when I first started on this amazing journey. Good information but not nearly enough for people just getting started. But keep reading.
The clamps in question are the cheap, red handled f style clamps that you see on Amazon and often in hardware shops. And let me just say that although I regret buying them, they are still in my workshop and get used when I run out of my favourite clamps which I will get to in a moment.
So why do they still make an appearance in the workshop? Well, that is explained in the video below. and where hundreds of thousands of people watched the first video, only a relative handful of people watched the follow up suggesting the solutions. And they are very simple to do. And will make the worst of clamps useable. To cut a long story short take a file and/or a saw and rough up the bar that the clamp keeps slipping down. Simple and effective. And this is how it started for me with clamps.
Affordable Clamps you can rely on.
Now, I can’t just talk about the worst clamps I have and leave it there because in finding these clamps and feeling very let down, I went on a search for an affordable alternative clamp. Something impressive. And I found one. My orange beauties.
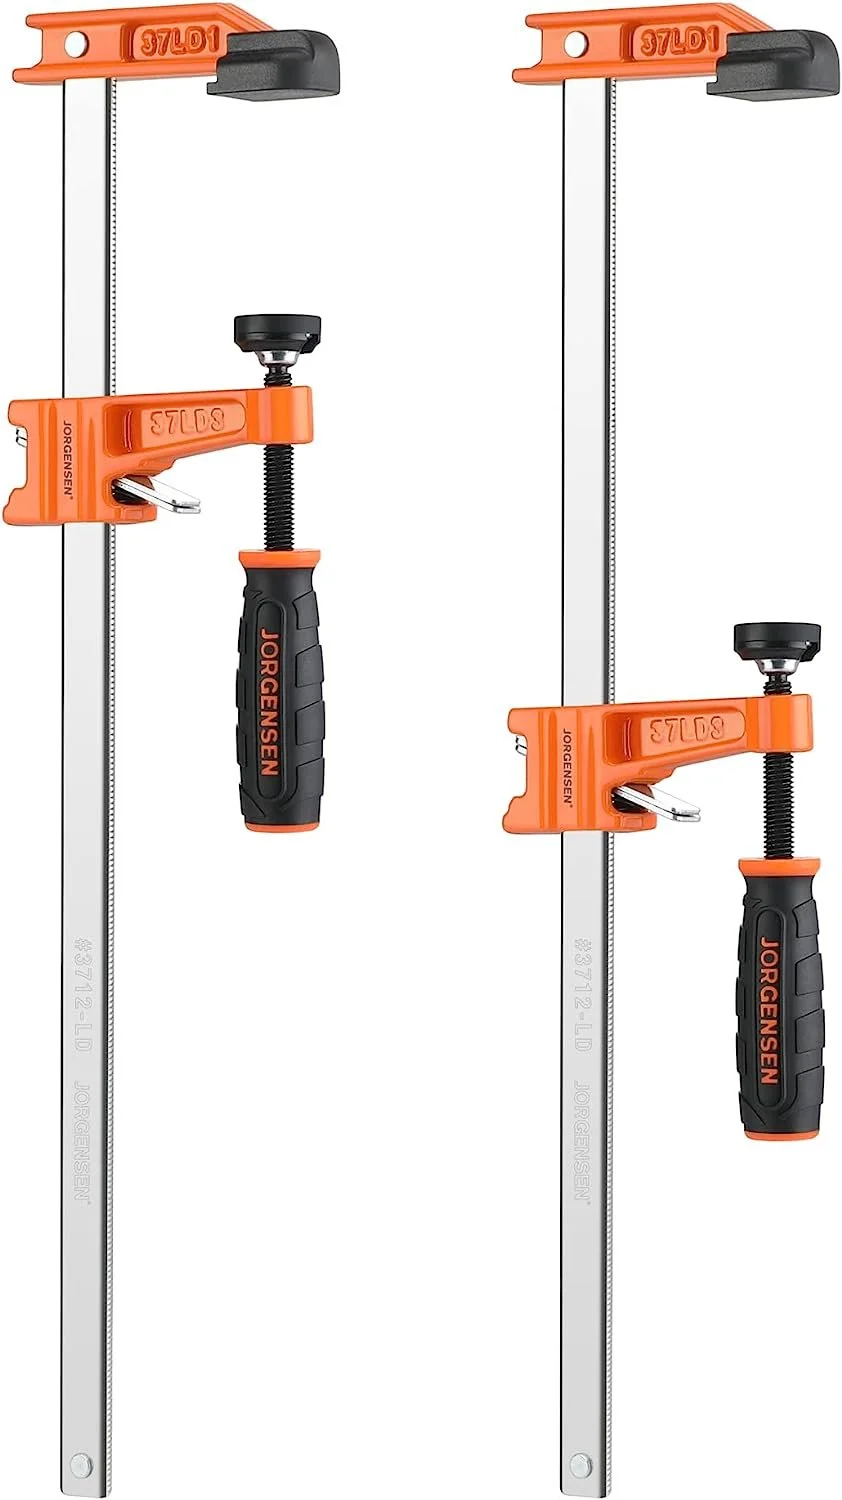
(Jorgensen F Clamps)
The Jorgensen F clamps that have featured in all my videos since the two above and have been flawless so far in their operation and consistency. They are the polar opposite the their red handled alternative. From their grips to their strength and more. But I did not just go out and buy them all at once.
I have one tactic for buying and that is simple. Wait until there is a sale and every time they are reduced by a couple of pounds I buy four. So far I have around 30 of the Jorgensen clamps in the workshop and for the first year since starting I may even ignore the sale when it comes around again (though I may not, we both know it is hard to see tools reduced and not click)
The video below best explains the benefits of my orange favourites.
So these are now the clamps that I go to more often than not in my woodworking. But there are others.
More Specialist Clamps
There are 2 specific, specialist clamps that you will see in the same video, just above, that I could not be without, though they are a little more niche in their application .
Firstly there is the band clamp, or ratchet clamp as I often call it. It consists of a long strap, 4 corner pieces and a ratchet, twist handle to draw the strap taught. It sounds very simple but there is a knack to using it without wanting to fling it through the open door. It does happen.
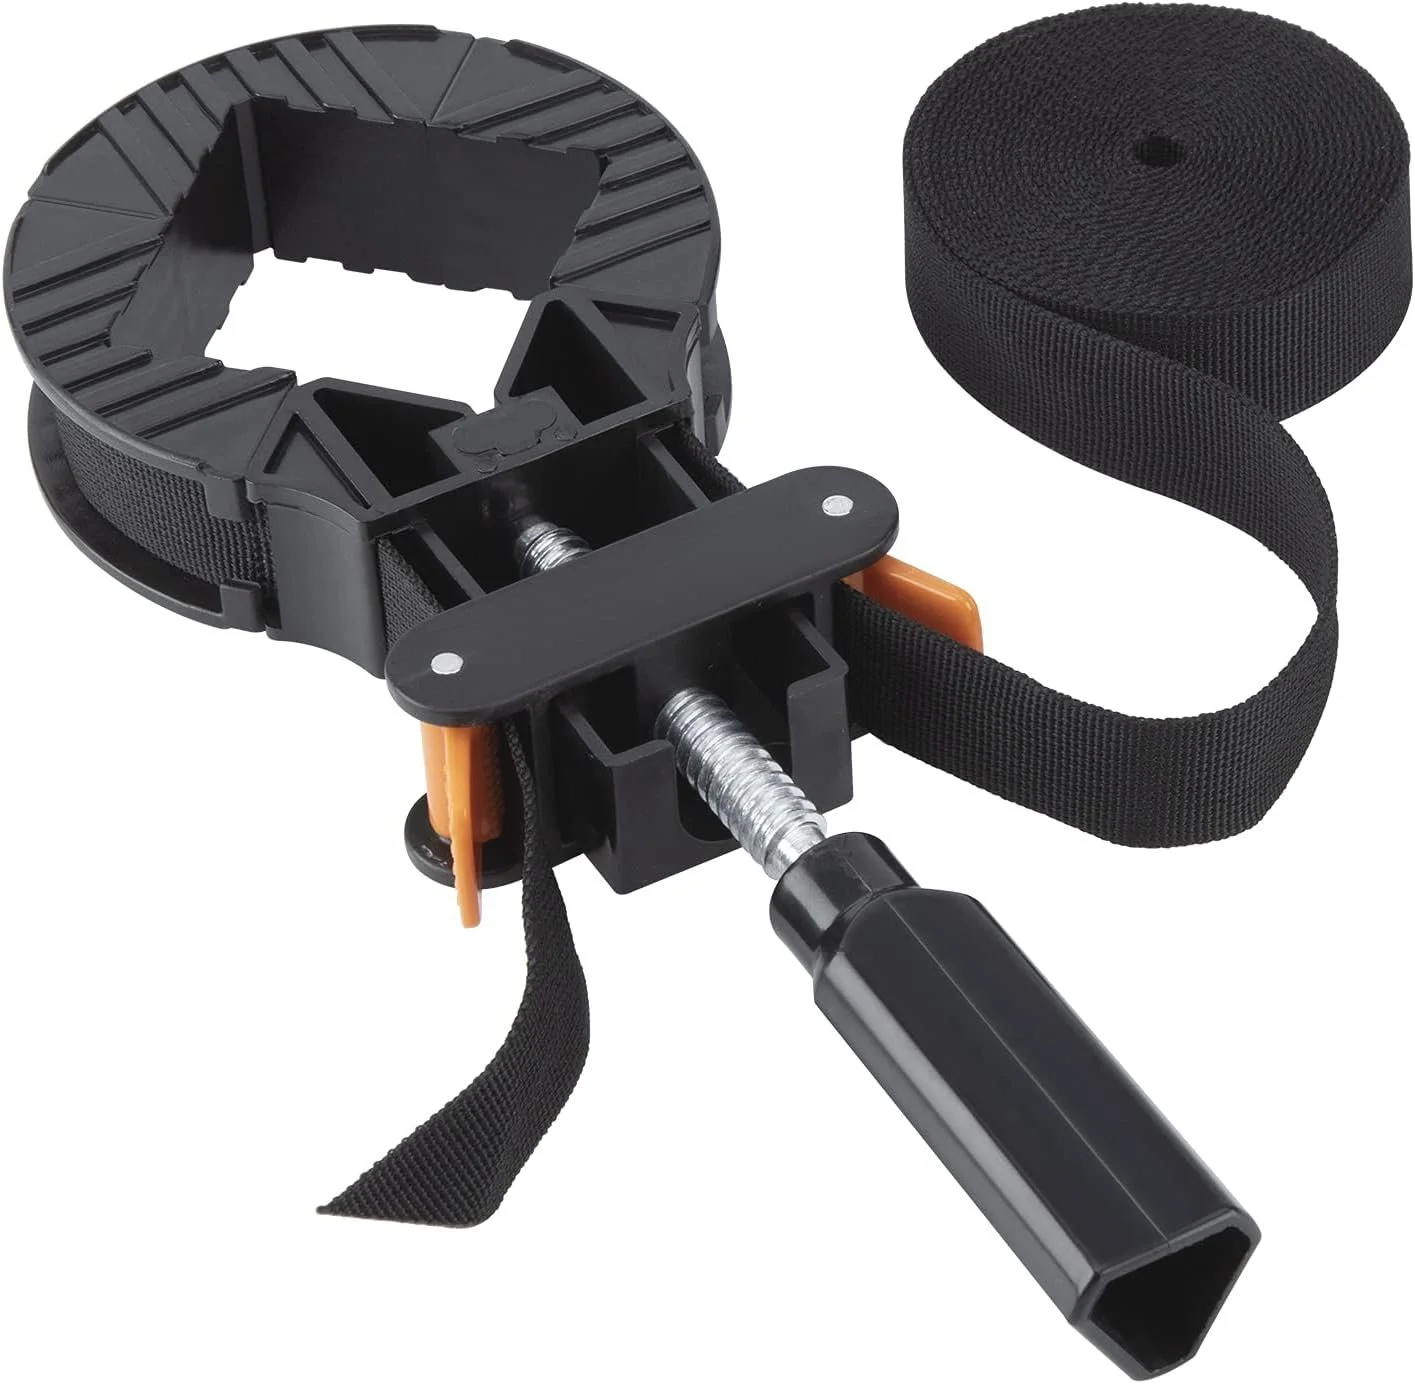
(Ratchet Clamp)
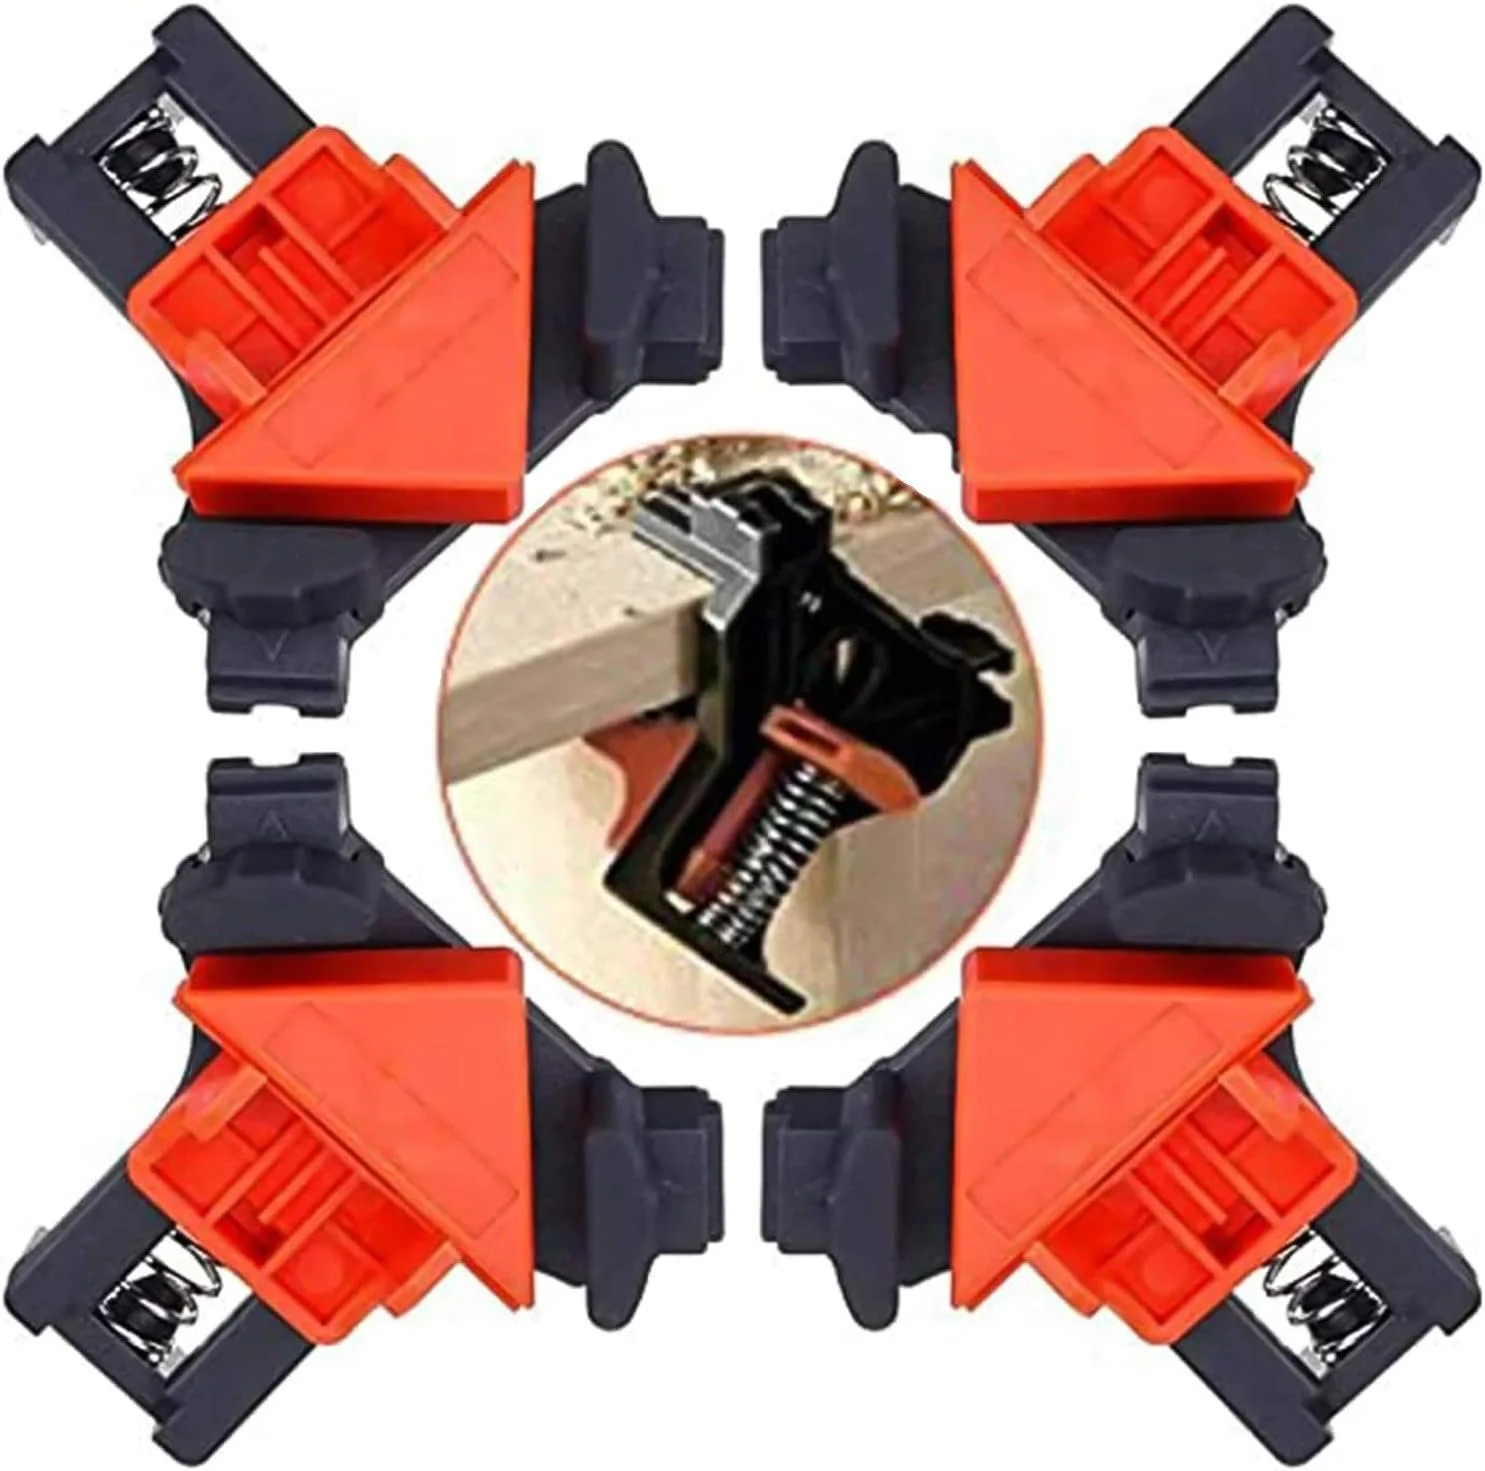
(Corner Clamps)
Dont think you can assembly your box and then just lasso the clamp over the top and tighten in one swift and professional swooping move. I promise you this will lead to swearing almost instantly as the box collapses in four different directions engulfing you in a cloud of fine wood dust that you were sure you cleaned off before starting the assembly.
No. what you really should do is estimate the size of the box and carefully lay the strap out in a square circle kind of shape with the 4 plastic corner supports roughly at the corners. Then, and only when you are sure that it is not going to fall off the workbench because you left the handle bit too close to the edge and it is certainly heavier that the rest, should you start to assemble your box within the circle square shaped boundary strap. Now, and this is not fool proof by any stretch, you can place the corner supports close to the corners and gently begin to draw the strap through the ratchet handle. But whatever you do, dont try to do this by twisting the handle, you will be there all day. Pull first, then lock and twist when you are close to tight. Ensure the corners don’t go out of place as they will definitely mark your work and cause tears to fall, at the least.
Once it is tight, the most frustrating clamp you own has just become the best clamp you own for this application and you will run off to tell your friends about it on Instagram. You may even consider getting a second.
You will get a second and instantly regret it when you realise that storing these is their biggest downside. Do you wrap it in a neat coil after use or shove it in a drawer so that it can become entangled forever with the second one you bought or do you give each one individual drawers to themselves so that they can’t fraternise with any other tools. It's a conundrum but thankfully one that is worth it for their success as a clamp. Maybe.
And dont forget that second one I mentioned at the start. The video shows you how to do it. You get the corner clamp to act as a second hand when arranging the strap clamp and all will be well in the workshop for that glue up. It’s all in the video and links are on the tools page. Have fun. Please.
The Answer - What clamps do you need to start making?
But here is a question still unanswered. How many clamps do you need in total? Sorry but I am not going to answer it either.
Well not exactly anyway. Because it all really depends on what you want to do as a woodworker. We all start at similar points but within weeks can be a huge distance apart in skill level and direction. For this reason all I can suggest is to start with a basic set and grow. For that I recommend the following.
4 x small / medium f style clamps (Jorgensen)
4 x small / medium quick squeeze clamps (Irwin or WorkPro)
1 x Ratchet Clamp but only if you are making boxes or frames
3 x sash clamps for panel glue ups and larger reach (Silverline)
With these you can start to make stuff. What stuff? Well, anything you can fit in the clamps.
That sounds a little flippant but as your projects grow, so will your clamps and clamp collection. The reason I have three sash clamps listed is because it allows you to have two on the bottom and one on top for a panel glue up and that should keep the pressure fairly even and reduce cupping. But as the panel you glue up gets bigger and the projects you build grow, you will either need more clamps or longer ones. Then you may want to consider moving onto bar clamps. That way you are only held back by the length of the bar you have. Meaning you can have a number of different sized bars and less sets of the attachments, so as to save money.
Or you may find one day that you need a deeper jaw F clamp to reach into the centre of a glue up. Bandy clamps for edge banding.
But whatever you may need in the future, buy enough to get started and then only buy what you need when you need them. The collection will grow as your skills do and you won’t blow your entire budget at the start.
Whoever said ‘You can never have too many clamps’ is not wrong but they probably had a huge budget and an even larger workshop.